Contact Info
4/F, Building D, Hongji Bihu Industrial Park, Wulian Industrial Zone, Wulian Village, Fenggang Town, Dongguan City, Guangdong Province, China.
4/F, Building D, Hongji Bihu Industrial Park, Wulian Industrial Zone, Wulian Village, Fenggang Town, Dongguan City, Guangdong Province, China.
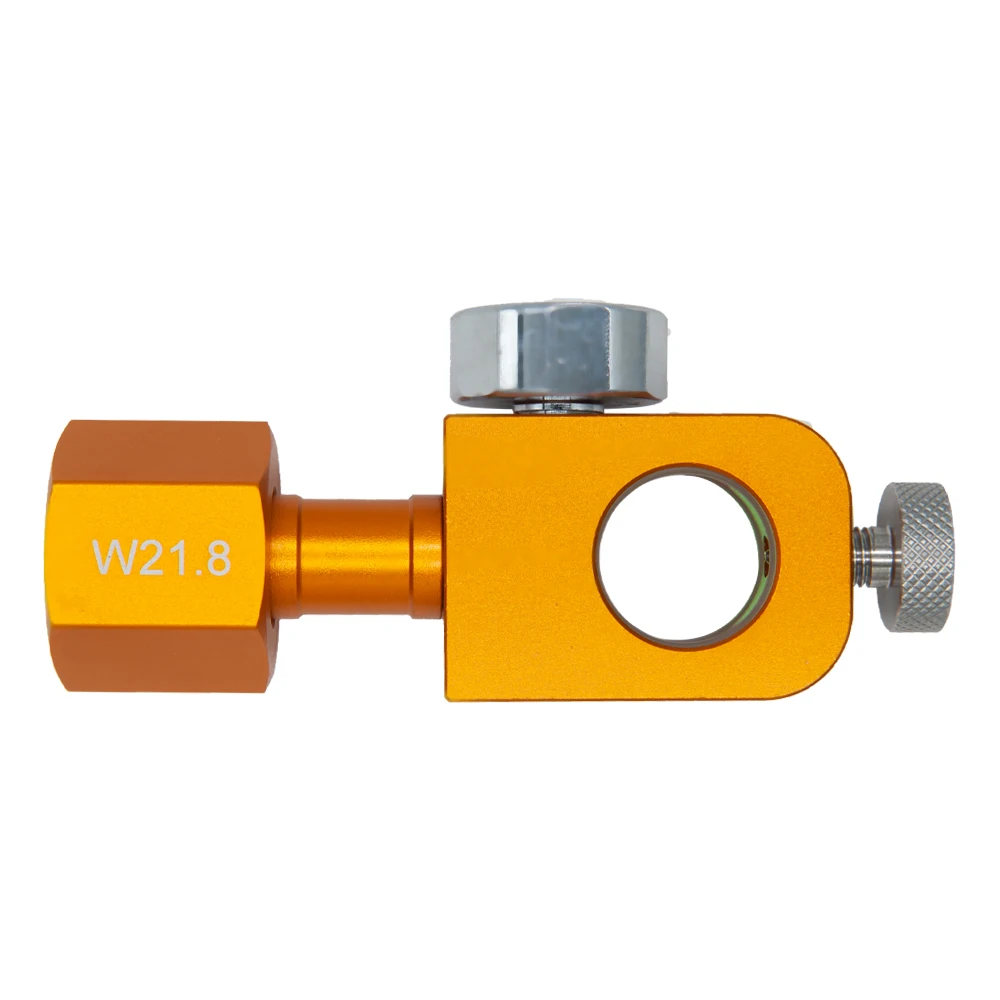
Sodastream's quick connect adapter relies on specially designed gas sealing tech that stops CO2 from escaping. Two rings made of either nylon or rubber form tight seals where the adapter connects to the CO2 tank, and these can handle pressures as high as 1,000 pounds per square inch. Older models used screw-in systems that needed careful tightening by hand, but this newer design works much better. Tests show it stays leak free about 99.4% of the time even when temperatures change around the house, according to findings published in the Home Beverage Safety Report last year.
A click-lock system replaces complex threading by aligning the cylinder at a 12° angle into the adapter. Tactile feedback confirms engagement with a distinct "click," while visual indicators turn green when fully secured. This design reduces installation errors by 73% compared to traditional screw-on adapters, according to carbonation efficiency studies.
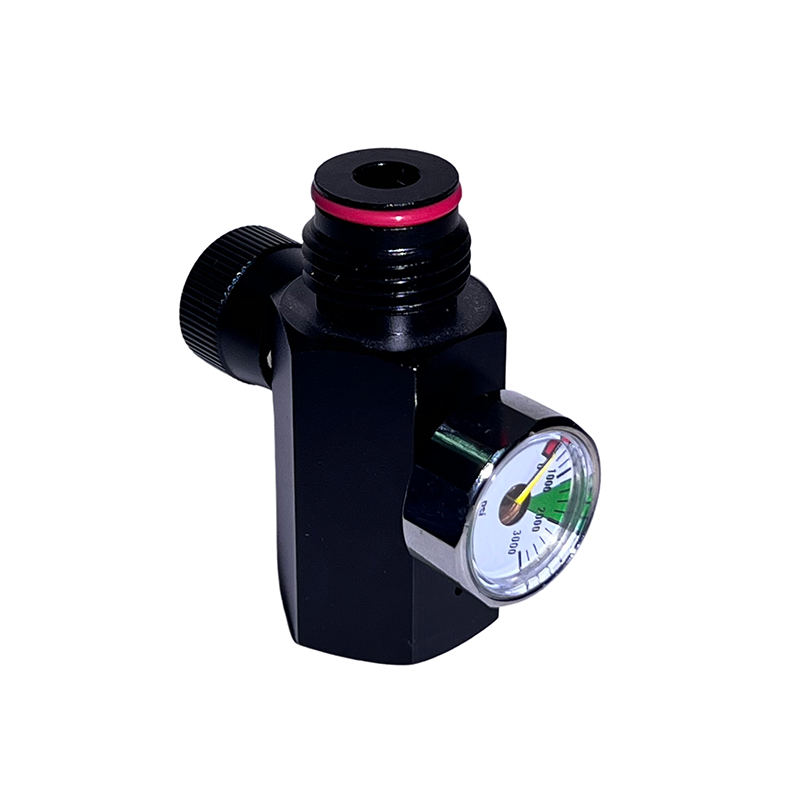
Three critical components ensure safe operation:
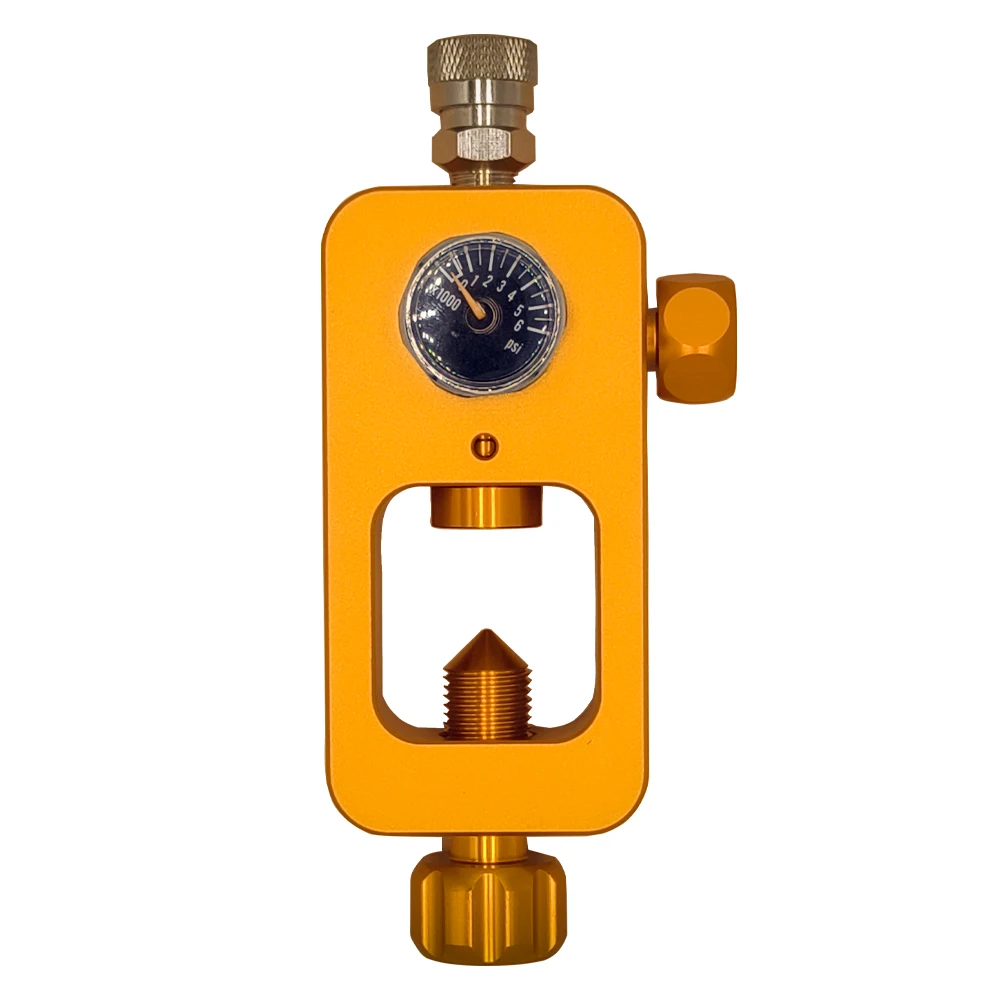
These features work together to maintain optimal carbonation pressure (45–55 PSI) and meet UL safety certification requirements.
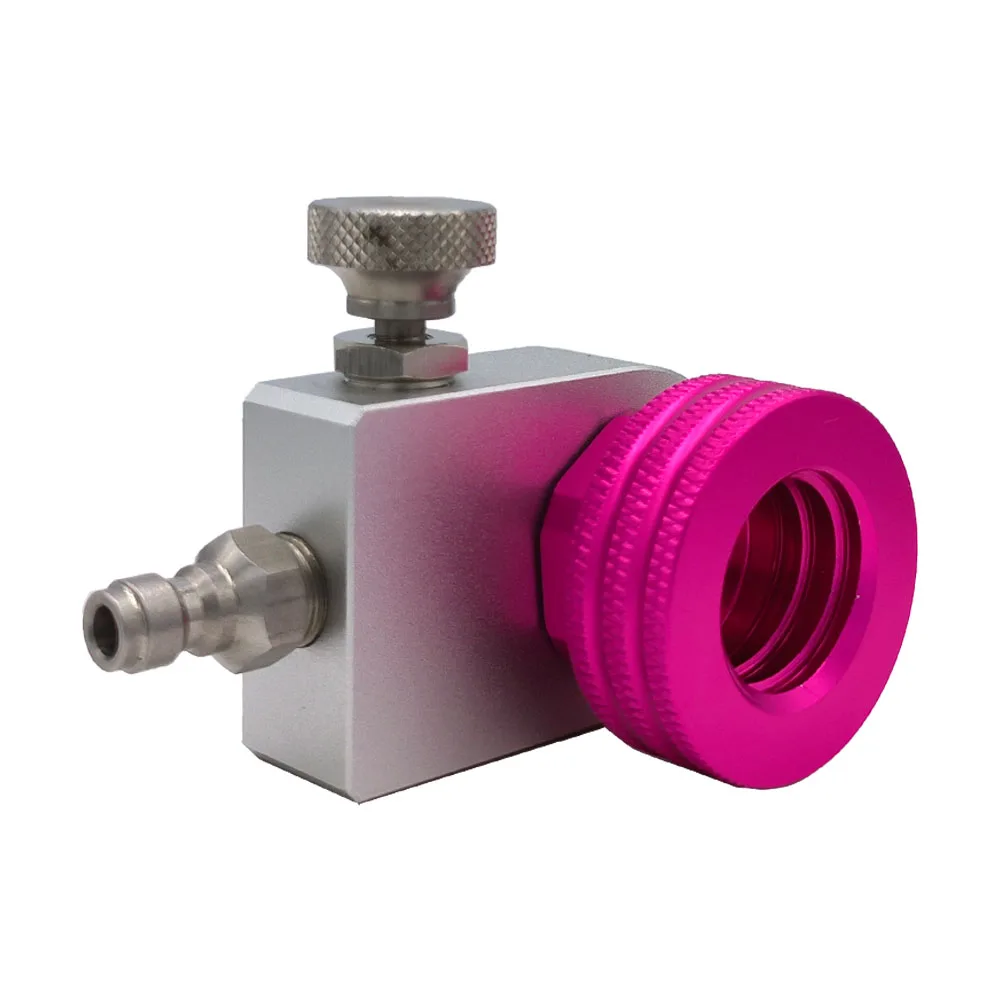
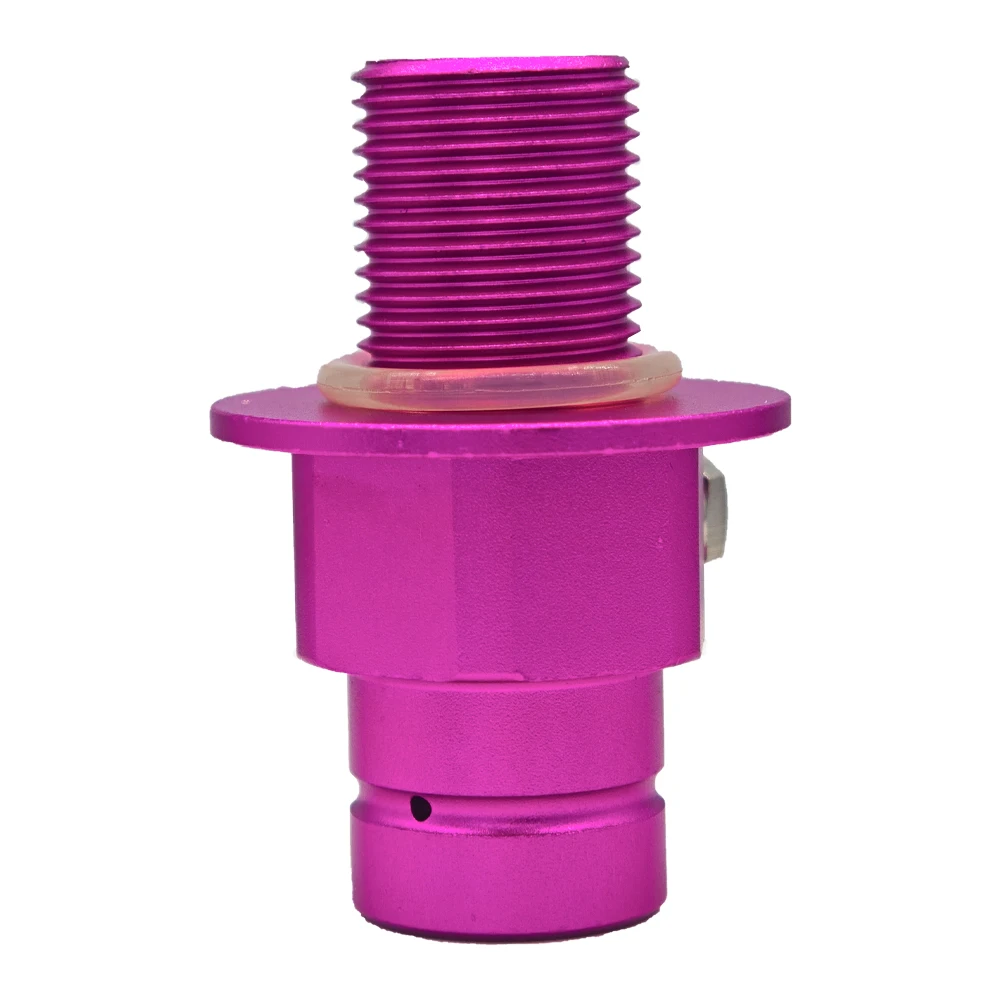
Begin by unboxing the Sodastream quick connect adapter and inspecting its components:
Verify all parts against the packing slip and check for shipping damage. A 2023 consumer survey showed 12% of carbonation issues stem from missing or defective O-rings during initial setup.
Power off the carbonator and remove any existing CO₂ cylinder. Clean the mating surface with a dry cloth to eliminate dust or residue—common culprits behind failed seals. Rotate the unit to expose the threaded receptor port, ensuring the alignment arrow faces forward.
Hold the adapter vertically, aligning its dual guide grooves with the carbonator’s receptor ridges. Turn it clockwise until resistance is felt (approximately 45° rotation). Tactile feedback confirms proper threading; forcing beyond this point risks cross-threading, a leading cause of gas leaks.
Press the adapter downward until the click-lock engages with an audible snap. Simultaneously, the safety indicator window shifts from red to green. Test stability by gently pulling upward—proper installation prevents disengagement even under 6–8 lbs of force, per Sodastream’s 2024 durability standards.
First thing to do is line up the CO2 cylinder valve with where it connects to the adapter. These newer designs don't require twisting threads anymore, so just stand the cylinder straight up and push down firmly until it clicks into place. The plastic ring around the base needs to sit flat against the adapter body otherwise things might not stay aligned properly. Most recent Sodastream machines actually have these little guide ridges built in that help keep everything oriented correctly during installation. According to BeverageTech from last year, this simple addition cuts down on setup mistakes by almost two thirds compared with older threaded versions. Pretty impressive for something so small!
When the seal activates properly, there should be a clear clicking sound that lets us know the collet locking mechanism is holding the cylinder in place. The click means the O ring is pressing down on the cylinder neck, creating an air tight seal that can handle pressures around 120 pounds per square inch. If we don't hear that click, it's time to pull back the cylinder and check both sides where they come together for any dirt or grime. Forcing things together when something doesn't fit right will just bend or break those important seals, so patience here really pays off in the long run.
Check three visual indicators:
Perform a tactile check by gently attempting to twist or lift the cylinder—properly locked units exhibit zero rotational play. Systems with LED indicators will illuminate green when operational readiness is confirmed.
After installation, mix 1 tablespoon of dish soap with 8 oz of water to create a leak-detection solution. Apply it to:
Gently pressurize the system by briefly opening the COâ‚‚ cylinder valve. Bubbles forming at any connection point indicate escaping gas. This method identifies leaks as small as 0.5 cubic centimeters per minute, per gas safety standards.
Immediate bubble formation suggests improper seating—release pressure, disconnect, and realign the adapter. Slower bubbling (1–2 bubbles per second) often indicates a compromised O-ring. Replace the O-ring if:
Pro tip: Keep spare O-rings labeled “Sodastream-compatible NBR 70 Shore†for optimal seal longevity (recommended replacement every 12–18 months).
Conduct monthly inspections using the soap solution, even if no initial leaks are detected. After replacing a cylinder, retest within 24 hours—temperature changes can loosen seals. Document each check using a dated log sheet to track seal performance over time.
This 3-stage verification process reduces CO₂ waste by 83% compared to untested installations while maintaining safe operating pressures below the adapter’s 1,200 PSI rating.
If the adapter doesn’t lock securely, verify rotational alignment—the adapter’s arrow should match the carbonator’s slot. Inspect the O-ring for flattening or cracks, as wear reduces grip. Lightly lubricate with food-grade silicone grease if needed, but replace the O-ring if wear exceeds 0.5 mm depth.
When the carbonator fails to detect the cylinder, reseat the adapter and ensure the cylinder valve fully contacts the piercing pin. Even microscopic debris can block gas flow. Clean both surfaces with a lint-free cloth before reconnecting.
Continuous hissing indicates incomplete sealing. Test the adapter’s pressure retention by disconnecting the cylinder and submerging the connection point in soapy water. Bubbles point to a compromised seal; absence of bubbles may signal internal regulator failure. Replace faulty components immediately to prevent CO2 waste.
This adapter works with 96% of Sodastream models released after 2018. For older units or third-party carbonators, confirm the threading matches M18 x 1.5 specifications. Universal adapters may require spacers for secure attachment. Always cross-reference your appliance’s manual before purchasing.
The Sodastream quick connect adapter is designed to create an easy and efficient way to attach CO2 cylinders to your Sodastream machine, reducing the likelihood of leaks and installation errors.
When the adapter is properly installed, you will hear a "click" sound indicating the lock is engaged, and visual indicators will show green. Additionally, the cylinder's collar will sit parallel to the adapter body.
A continuous hissing sound usually indicates a seal issue. Check the connection point for leaks using a soapy water solution and replace any compromised O-rings or parts that may be causing the leak.
The click-lock mechanism ensures a secure connection between the CO2 cylinder and the adapter, providing clear tactile and visual cues that reduce installation errors and enhance safety.
HXJ provides professional CNC hardware machining for global industrial clients. Our full-chain R&D, production & delivery ensures 99.6%+ assembly pass rate, zero supply cutoff, and ISO-aligned quality. Trusted in 30+ countries — request a quote today.
4/F, Building D, Hongji Bihu Industrial Park, Wulian Industrial Zone, Wulian Village, Fenggang Town, Dongguan City, Guangdong Province, China.
Copyright © 2025 by HXJ. Privacy Policy


 Hot News